
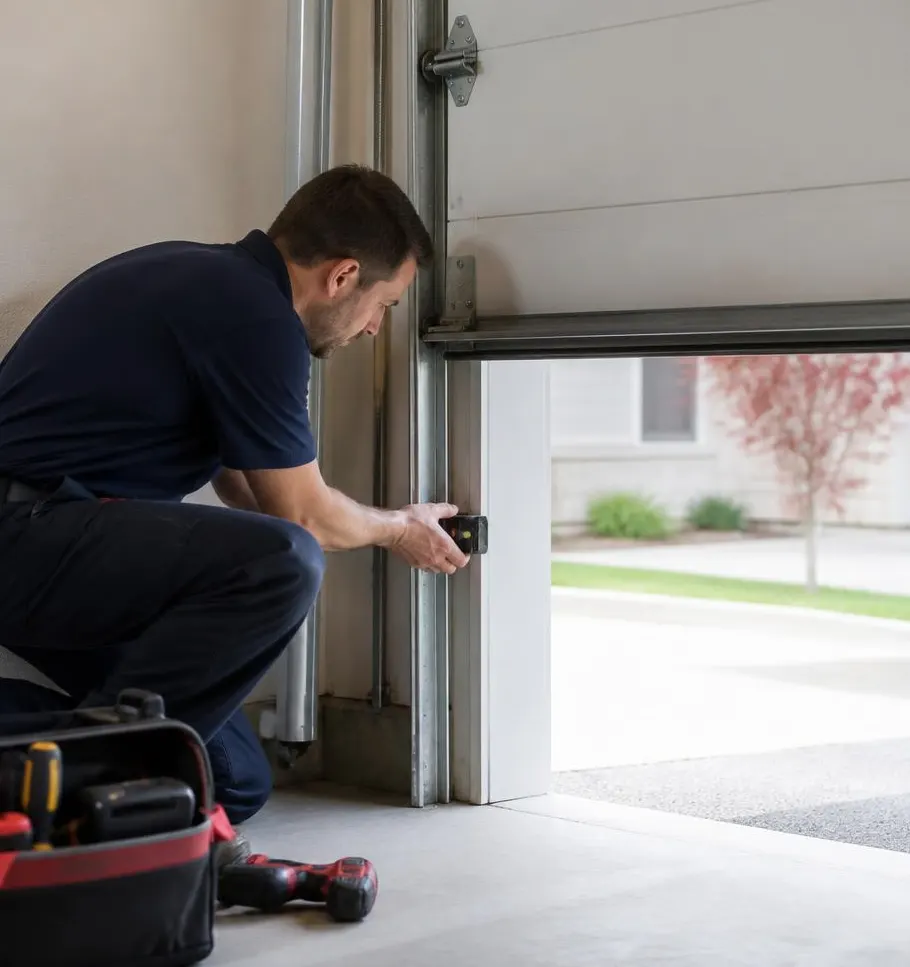
The Rule of Thumb
If daylight, water, dust, or bugs are getting under your garage door, the bottom seal is worn out and needs replacing — it's a cheap, 30-minute fix most homeowners can do themselves. The exceptions: if the door is also sagging, dragging, or hanging crooked, the seal isn't your real problem, and if the track or panel is bent from a storm or impact, replacing the seal alone will just mask a bigger issue that needs a technician.
In Baker County, bottom seals take a beating. Humidity and afternoon downpours swell wood and vinyl, summer heat dries and cracks rubber, and the gap under a worn seal is an open invitation for palmetto bugs, lizards, and wind-driven rain during hurricane season. Side and top weatherstripping fails the same way, just slower, since it's not sitting in standing water after every storm.
Tools You'll Need
- Replacement bottom seal (T-style, bulb-style, or beaded, matched to your track type)
- Replacement vinyl weatherstripping for the sides and top, if needed
- Utility knife
- Tape measure
- Flathead screwdriver or trim puller
- Soapy water or silicone lubricant (makes sliding new seal into track much easier)
- Work gloves
Step-by-Step: Replacing the Bottom Seal
- Open the door partway and secure it so it can't come down while you work. If you have an opener, disconnect the trolley or unplug the unit.
- Pull the old seal out of the track. Most seals slide out of a retainer channel along the bottom edge of the door; a flathead screwdriver can help pry stubborn ones loose, especially if moisture has caused the vinyl to swell and stick.
- Clean the channel. Years of grit, dead insects, and water residue build up in there. A quick wipe-down now means the new seal seats properly and won't trap moisture against the metal.
- Measure the door width and cut the new seal with a utility knife, leaving an extra inch on each side to trim after installation.
- Feed the new seal into the track, starting from one end. Soapy water on the seal's edge reduces friction and makes this step much faster.
- Lower the door and check the seal compresses evenly against the concrete with no gaps, especially at the corners where wind and rain tend to find a way in during storms.
- Trim the excess flush with the sides of the door.
Step-by-Step: Replacing Side and Top Weatherstripping
- Pry off the old stop molding or weatherstrip retainer along the sides and top of the door frame.
- Measure and cut new vinyl weatherstripping to length for each side.
- Press or nail the new strip into place, following the same line as the old one so the door still closes flush.
- Test the door through a full open-close cycle to confirm nothing binds and the seal compresses without gaps.
What You Can Handle vs. What Needs a Technician
Replacing bottom seals and basic weatherstripping is well within reach for most homeowners with an hour, a utility knife, and a trip to the hardware store. Where it's smart to stop and call someone:
- The door doesn't sit level on the floor even with a new seal — this usually means a bent track, worn rollers, or spring tension that's off.
- Rust has spread along the bottom panel from standing water sitting against an old, failed seal for a long time. That can mean panel damage underneath, not just a seal problem.
- The gap is uneven side to side, which often points to the door being off track rather than the weatherstripping being worn.
- You're replacing seals on a door with wind-load bracing or reinforced panels built for storm resistance — some of that hardware sits close to the seal channel, and it's easy to disturb it without realizing.
A new seal on a door that's already misaligned is a short-term patch at best. If water or drafts keep coming back within a season of replacing the seal, the seal was never the actual problem.
Why This Matters More Here Than Elsewhere
Garage doors in this part of Florida deal with more moisture exposure than most — heavy humidity, sudden afternoon storms, and salt air if you're closer to the coast. A failed bottom seal doesn't just let in bugs and dust; it lets water pool against the bottom panel after every downpour, which accelerates rust on steel doors and swelling on wood ones. Catching a worn seal early is one of the cheapest ways to protect the rest of the door from weather damage that's much more expensive to fix.
When to Call Glen Saint Mary Garage Door Service
If you've replaced the seal and the door still doesn't sit flush, or if you're seeing rust, warping, or a track that looks bent, it's time to call in a technician rather than keep swapping seals. Our team handles Off Track Door Repair and Garage Door Panel Replacement for exactly these situations — cases where the weatherstripping was just the symptom, not the cause. We'll check the rollers, track alignment, and panel condition, and fix the root issue so the new seal actually does its job instead of failing again in six months.
If your garage door in Glen Saint Mary, Macclenny, or anywhere in Baker County is letting in water, drafts, or unwanted critters, give Glen Saint Mary Garage Door Service a call. We'll diagnose it fast and fix it right the first time.